

Cameras
相机
导航
光标移动中心模式对象模式相机模式
Using these commands, camera modes, which are normally defined in the
使用这些命令,相机模式,通常是在偏好... 菜单(见相机模式)中定义的,也可以切换。
Each viewport has its own independent camera, called the editor camera. The standard camera is active by default, but you can create and activate your own cameras. Unlike the editor camera, your own cameras are shown as objects in the Object Manager (see Scene Cameras below).
每个视口都有自己独立的摄像机,称为编辑器摄像机。默认情况下,标准相机是活动的,但你可以创建和激活自己的相机。与编辑器相机不同,你自己的相机在对象管理器中显示为对象(参见下面的场景相机)。
相机2 d 模式

In this special camera mode, 3D object will be displayed in 2D. You can navigate as usual using the hotkeys
在这种特殊的摄像模式下,3D 物体将以2D 形式显示。你可以像平常一样使用热键1和2以及视图右上角的导航图标,也就是说,你可以放大和缩小,在场景中移动而不用改变 persepective/parlaxe 或相机的位置。禁用此模式可返回到以前的查看方法。
This is a temporary mode, which can be used to more precisely examine parts of the scene, e.g., to paint or adjust something. This mode is designed for use in the perspective view.
这是一种临时模式,可以用来更精确地检查场景的某些部分,例如,绘制或调整某些东西。此模式设计用于透视视图中。
A similar camera mode is available for the Motion Tracker when navigating footage.
相似的摄像机模式可用于运动跟踪时导航的镜头。
使用相机
To link a camera in the scene to the view so that the view looks though this camera, choose the desired camera from this sub-menu.
若要将场景中的摄像机与视图链接起来,以便视图通过此摄像机观看,请从此子菜单中选择所需的摄像机。

将活动对象设置为 Camera
Choose this command to place the camera on the object axis (e.g., along the Z axis) of the active object. Your view will point in the direction of the object’s Z axis. This command can be useful, among other things, for checking which objects a light source can see. Keep in mind that in some display modes your view may be blocked by the active object’s surfaces.
选择此命令将相机放置在活动对象的对象轴上(例如,沿 z 轴)。您的视图将指向对象的 z 轴方向。这个命令对于检查光源可以看到的物体非常有用。请记住,在某些显示模式下,您的视图可能会被活动对象的表面阻塞。
Alternatively you can click on the corresponding camera’s icon in the Object Manager.
或者你也可以在对象管理器中点击相应的相机图标。
默认摄像头
This command activates the editor camera.
这个命令激活编辑器相机。
透视法
Here you choose the projection mode for the camera. You can choose from over a dozen modes. The Perspective view shows a horizon line, which corresponds to the horizon at infinity.
在这里,您可以选择相机的投影模式。你可以选择超过一打的模式。透视图显示了一条与无限远的地平线相对应的地平线。
透视法

The default projection mode for the viewport. It shows you the scene as though looking through a conventional camera.
视口的默认投影模式。它会像通过传统相机一样显示场景。
平行

The vanishing point is infinitely distant. All lines are parallel.
消失点是无限遥远的,所有的线都是平行的。

左边

The YZ view.
YZ 视图。
对

The ZY view.
风景。
前线

The XY view.
XY 景观。
回来

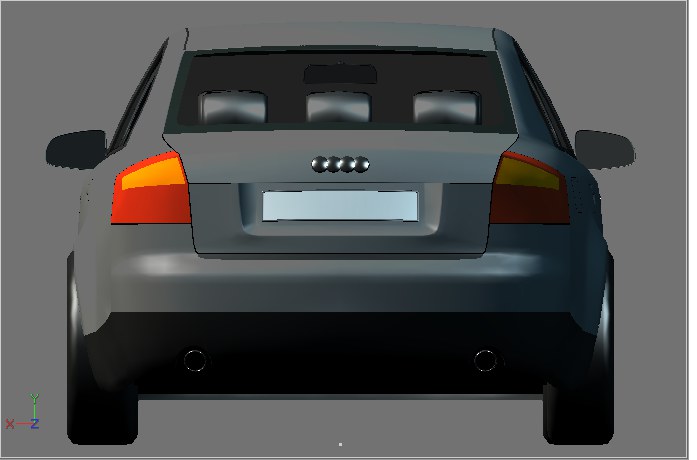
The YX view.
YX 视图。
页首

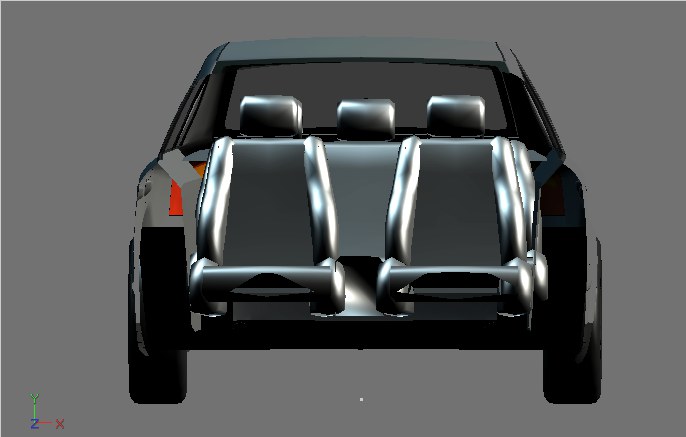
The XZ view.
XZ 视图。
底部
The ZX view.
ZX 视图。

军事
 X:Y:Z = 1:1:1. 1:1:1:1
青蛙
 X:Y:Z = 1:2:1. 1:2:1
鸟
 X:Y:Z = 1:0.5:1. 1:0.5:1
绅士
 X:Y:Z = 1:1:0.5. 1:1:0.5
This is a popular choice for architecture.
这是一个流行的建筑选择。
等距的

A popular choice for technical subjects (e.g., machinery). The X:Y:Z format is 1:1:1.
常用于技术科目(如机械)。 x: y: z 格式为1:1:1。

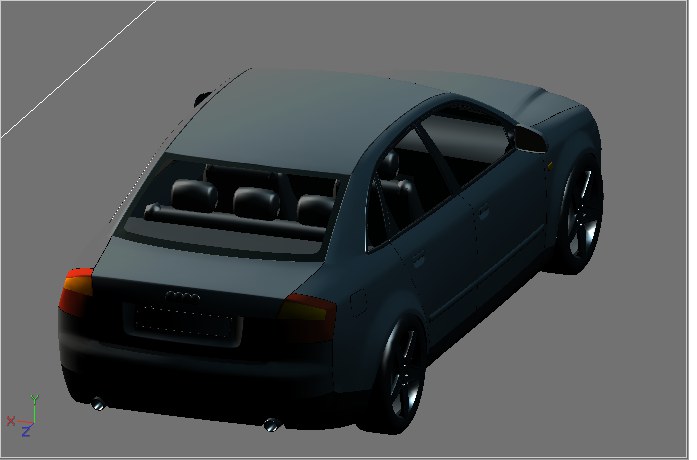
Diametric (right): Similar to Isometric, but with an X:Y:Z format of 1:1:0.5.
直径(右) : 类似于等距,但 x: y: z 格式为1:1:0.5。