


Menu
菜单
档案
加载 XGroup,保存 XGroup As
Load XGroup imports a previously saved XGroup into the selected XGroup. If no XGroup is selected, the XGroup is loaded directly into the XPresso Editor. Once loaded, the XGroup uses its standard size setting, i.e., its contents will be hidden. To show the contents, right-click (Windows) or Command+click (Mac OS) the XGroup and choose either View / Extended or View / full-screen from the context menu.
加载 XGroup 将以前保存的 XGroup 导入到选定的 XGroup 中。如果没有选择 XGroup,XGroup 将直接加载到 XPresso 编辑器中。一旦加载,XGroup 使用它的标准大小设置,也就是说,它的内容将被隐藏。要显示内容,右键单击(Windows)或 Command + click (Mac OS) the XGroup 并从上下文菜单中选择 View/Extended 或 View/full-screen。
Save XGroup As saves the selected XGroup. If no XGroup is selected, the entire contents of the XPresso Editor will be saved.
保存 xgroupas 保存选定的 XGroup。如果没有选择 XGroup,则将保存 XPresso 编辑器的全部内容。
关闭
This command closes the XPresso Editor. To reopen it, double-click an XPresso tag in the Object Manager.
此命令关闭 XPresso 编辑器。要重新打开它,请双击 Object Manager 中的 XPresso 标记。
编辑菜单
撤销,重做
Use Undo to undo the last change you made in the XPresso Editor; select Undo repeatedly to undo changes one by one. Select Redo to redo the last undo.
使用撤销来撤销您在 XPresso 编辑器中所做的最后一次更改; 反复选择撤销来逐个撤销更改。选择“重做”以重做上一次撤消。
复制粘贴
The Cut command moves the selected nodes or XGroups (including their wires) to the clipboard. The Copy command copies the selected nodes or XGroups (including their wires) to the Clipboard. The Paste command copies the nodes or XGroups that are stored in the clipboard to within the currently selected XGroup. If no XGroup is selected, the elements are placed directly within the XPresso Editor.
Cut 命令将选定的节点或 XGroups (包括它们的连接)移动到剪贴板。Copy 命令将选定的节点或 XGroups (包括它们的连接)复制到剪贴板。Paste 命令将存储在剪贴板中的节点或 XGroups 复制到当前选定的 XGroup 中。如果没有选择 XGroup,则元素将直接放置在 XPresso 编辑器中。
删除
Deletes the selected nodes or XGroups.
删除选定的节点或 XGroups。
选择 AllDeselect All
These commands select or deselect all nodes and XGroups.
这些命令选择或取消选择所有节点和 XGroups。
启用,禁用
If you disable a node or XGroup that is between two enabled nodes or XGroups, no values will be passed through. In effect, the enabled elements will be disconnected from each other. Nodes and XGroups with missing or disabled parameters have a yellow title bar. 如果禁用位于两个已启用节点或 XGroups 之间的节点或 XGroup,则不会传递任何值。实际上,已启用的元素将彼此断开连接。缺少或禁用参数的节点和 XGroups 的标题栏为黄色Using these commands, you can switch nodes and XGroups on or off so that you can test parts of an expression in isolation without having to disconnect wires. Select the elements that you want to switch off then choose the Disable command. To switch the elements on again, select them and choose Enable.
使用这些命令,您可以开启或关闭节点和 XGroups,这样就可以隔离地测试表达式的各个部分,而不必断开连接线。选择要关闭的元素,然后选择禁用命令。若要再次打开元素,请选择它们并选择“启用”。
布局菜单
投入
The Inputs setting determines whether inputs appear at the left edge or right edge of nodes and XGroups. Since the outputs always appear at the opposite edge to inputs, there is no separate setting for outputs.
Inputs 设置确定输入是出现在节点和 XGroups 的左边缘还是右边缘。因为输出总是出现在与输入相反的边缘,所以没有单独的输出设置。
联系
 Connection types from left to right: Direct,
Straight, Normal, Curved. 从左到右的连接类型: 直线型、直线型、正常型、曲线型
Connection types from left to right: Direct,
Straight, Normal, Curved. 从左到右的连接类型: 直线型、直线型、正常型、曲线型
The Connections sub-menu controls the appearance of wires: Direct, Straight or Normal. For example, if you choose Direct, each wire is displayed as a single, straight line.
连接子菜单控制导线的外观: 直线,直线或正常。例如,如果选择“直接” ,则每条线都显示为一条单独的直线。
显示状态栏
Enable this option to display the XPresso Editor’s status bar. The status bar appears at the foot of the XPresso Editor and, when you hover over a port with the mouse pointer, provides useful information such as the port’s name.
启用此选项以显示 XPresso 编辑器的状态栏。状态栏出现在 XPresso 编辑器的底部,当您使用鼠标指针在端口上悬停时,它会提供有用的信息,比如端口名称。
重置为默认值
This command resets the XPresso Editor to its default layout. The Connections setting is set to Normal and the Inputs setting to At Left.
此命令将 XPresso 编辑器重置为其默认布局。“连接”设置为“正常” ,“输入”设置为“左边”。
查看菜单
变焦
To magnify the contents of the XPresso Editor, choose a zoom factor from this sub-menu. Alternatively, click and drag on the zoom icon situated in the top-right corner of the XPresso Editor.
要放大 XPresso 编辑器的内容,请从此子菜单中选择一个缩放因子。或者,单击并拖动位于 XPresso 编辑器右上角的缩放图标。
Displays the entire expression in the XPresso Editor.
在 XPresso 编辑器中显示整个表达式。
选秀节目
Selecting this command will zoom or re-position the view so that all selected Nodes are displayed.
选择此命令将缩放或重新定位视图,以便显示所有选定的节点。
向左上方对齐
Moves the entire expression to the top left corner of the XPresso Editor. No zooming takes place.
将整个表达式移动到 XPresso 编辑器的左上角。不进行缩放。
中心节点
Moves the center of the expression to the center of the XPresso Editor. No zooming takes place.
将表达式的中心移动到 XPresso 编辑器的中心。不进行缩放。
对齐到网格
Aligns the nodes and XGroups to the XPresso Editor’s grid.
将节点和 XGroups 对齐到 XPresso Editor 的网格。
自定义菜单
The commands in the
自定义菜单中的命令与插件有关。例如,如果购买和安装,您可以从此菜单中访问 Thinking Particles 的设置。
In addition, on this menu you will find the commands for opening the XPresso Pool and XPresso manager. Since these two windows are integrated into the XPresso Editor by default, you will only need to use these commands if you have undocked the windows and closed them.
此外,在这个菜单中,您将找到用于打开 XPresso Pool 和 XPresso manager 的命令。由于默认情况下这两个窗口集成到 XPresso 编辑器中,所以只需要在取消停靠窗口并关闭它们的情况下使用这些命令。
计算菜单
启动 XPresso 计算
Choose this command if you want to test an expression. All nodes and connections will be calculated once only. Check the result and correct or refine the expression accordingly.
如果要测试表达式,请选择此命令。所有节点和连接只计算一次。检查结果并相应地修正或改进表达式。
动画更新
When this option is enabled, the expression is recalculated for each frame of the animation. This ensures that all data coming into the expression, such as the position of objects, is up-to-date.
启用此选项后,将为动画的每个帧重新计算表达式。这可以确保输入表达式的所有数据(例如对象的位置)都是最新的。
This option determines whether the expression is calculated in real-time while a parameter is being changed (option enabled) or after the parameter has been changed (option disabled). For example, suppose an expression makes a dog follow his owner. If Live Refresh is enabled, the dog will follow his owner while you drag the owner to a new position in the viewport. If, on the other hand, the option is disabled, the dog will wait for the mouse button to be released before catching up with his owner.
此选项确定是在更改参数时实时计算表达式(启用选项)还是在更改参数后实时计算表达式(禁用选项)。例如,假设一个表达式让一只狗跟随它的主人。如果启用了 Live Refresh,当您将狗狗拖动到视区中的新位置时,狗狗将跟随其主人。另一方面,如果该选项被禁用,狗狗将等待鼠标按钮被释放,然后再追上它的主人。
性能视图..。
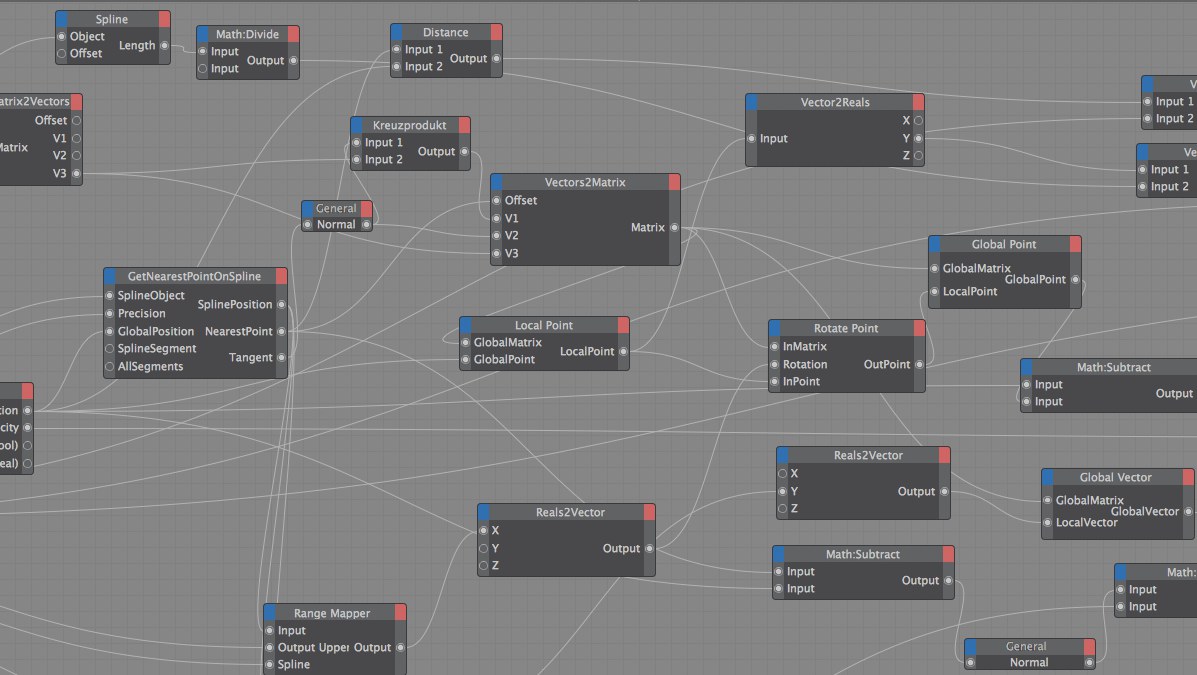 The darker the Node, the longer it will need to
calculate. 节点的颜色越深,它需要计算的时间就越长
The darker the Node, the longer it will need to
calculate. 节点的颜色越深,它需要计算的时间就越长
Selecting this option opens a small dialog window. Enabling the Performance View will display the required calculation time for each Node (i.e., the most calculation-intensive Nodes will have a red title bar). This function can be used to locate Nodes that will take long to calculate so they can be replaced with optimized Expressions.
选择此选项将打开一个小对话框窗口。启用 Performance View 将显示每个 Node 所需的计算时间(即,计算量最大的 Node 将有一个红色的标题栏)。此函数可用于定位计算时间较长的节点,以便使用优化的表达式替换它们。
启用性能视图
Enables the Performance View function.
启用性能视图功能。
模式
Select whether the Node’s calculation time should be displayed in milliseconds (Time) or according to the number of calculation operations per pass (e.g., animation frame).
选择 Node 的计算时间是以毫秒(时间)为单位显示,还是根据每次的计算操作数(例如,动画帧)显示。
强度
Use this setting to define the intensity with which the Nodes’ tile bar will be colored. The darker the color, the more render time the Node requires. Increasing the Intensity value will cause the Nodes to turn red correspondingly faster.
使用此设置可以定义“节点”的平铺条显示颜色的强度。颜色越深,节点需要的渲染时间越长。增加强度值将导致节点相应地更快地变红。
To be more precise, this is where you enter a limit value. If, for example, you enter 50ms and a Node requires 50ms or more to render, it will be colored bright red. If the Node requires less time it will be colored correspondingly less red.
更准确地说,这是您输入限制值的地方。例如,如果您输入50毫秒,而一个 Node 需要50毫秒或更多的时间渲染,那么它将显示为鲜红色。如果节点需要更少的时间,它将相应地被更少的红色。


